

Properly caring for your windows through correct operation, cleaning, and maintenance will ensure they continue to look and perform as well as the day they were installed. See below for step by step tips on caring for your windows.
How to Clean Double-Hung Windows
This video walks you through the steps of cleaning Champion double-hung windows. See how easy it is to clean your windows without the hassle of ladders!


Cleaning Tilt-In Double-Hung Windows

Step 1
Unlock the window and raise the bottom sash about 3 inches.

Step 2
Simultaneously slide both tilt latches toward the center of the window.

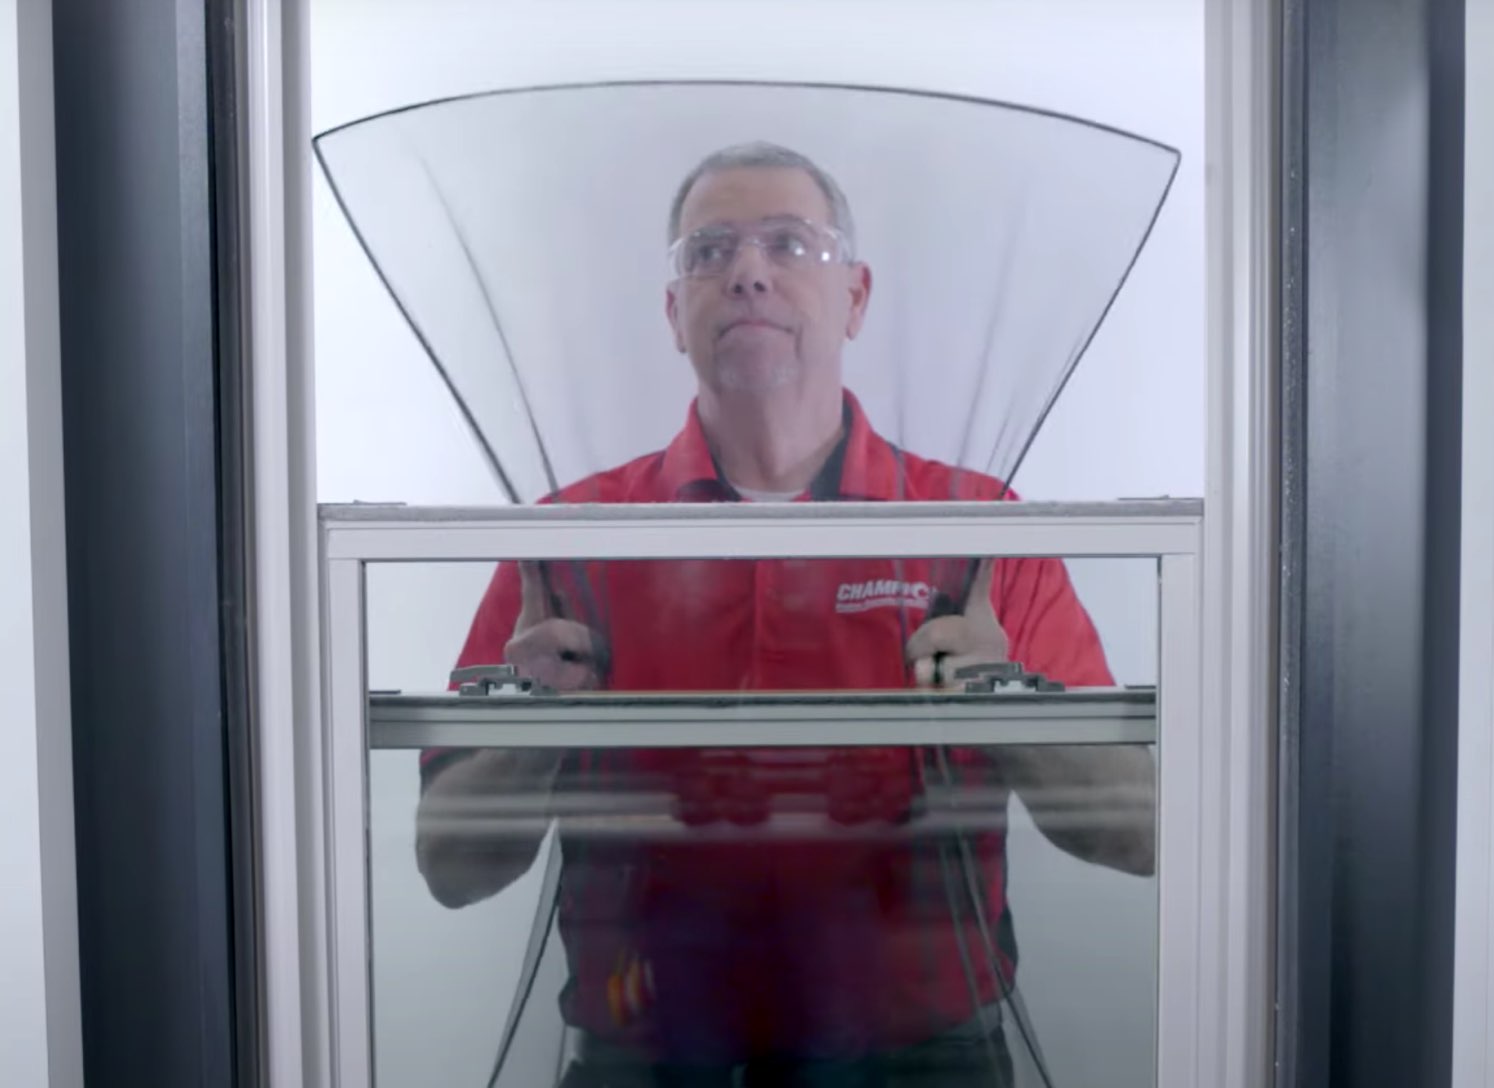
Step 3
While holding the latches in, gently pull the top sash toward you, swinging it down until it rests on the bottom of the sill.

Step 4
To tilt in top sash, lower it about 3 inches and follow the same steps as above.

Step 5
To return sashes to their operating position, swing the sash back up and push the top gently until the tilt latches snap back into place.

Step 6
Push the top sash back up to the top of the window frame and the bottom sash to the bottom, then lock the window.
Note: If window does not close tight at the center, check to be sure locks are in the unlocked position.
How to Clean Casement Windows
This video will walk you through the steps of cleaning your Champion Casement Window. You can thoroughly clean your Champion casement windows from the interior of your home.


Cleaning Casement Windows

Step 1
Unlock and remove the screen.

Step 2
Unlock the window and crank window open until both sides of the glass are accessible.

Step 3
Clean both sides of the window glass. Crank window closed when finished. Lock the window and replace the screen.
Full and Half Screen Removal and Replacement
Our Champion expert walks you through the steps of replacing your window’s full and half screens.
FlexScreen® Removal and Replacement
Our Champion expert walks you through the steps of replacing your window’s FlexScreen®.

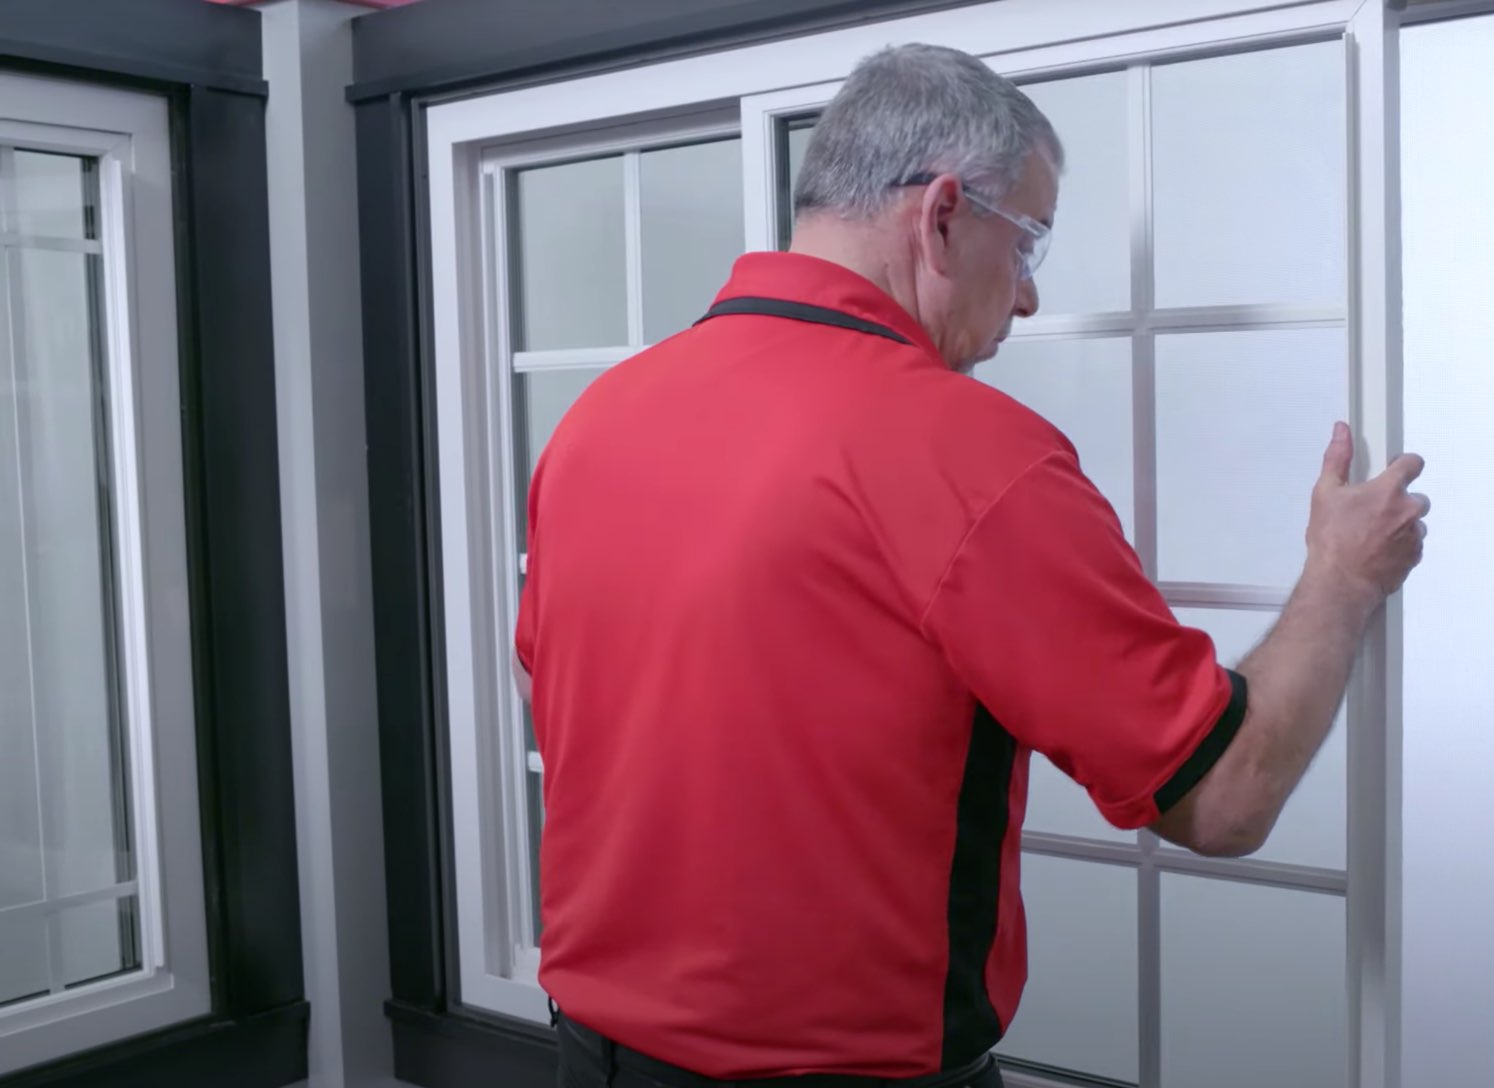
Removing and Re-Installing Window Screens

Step 1
Open the window so both sashes are in the tilt-in position. Raise the screen a few inches so you can grasp the top and bottom.

Step 2
Push the screen to the side containing the screen spring, compressing the spring and allowing the screen to be removed.

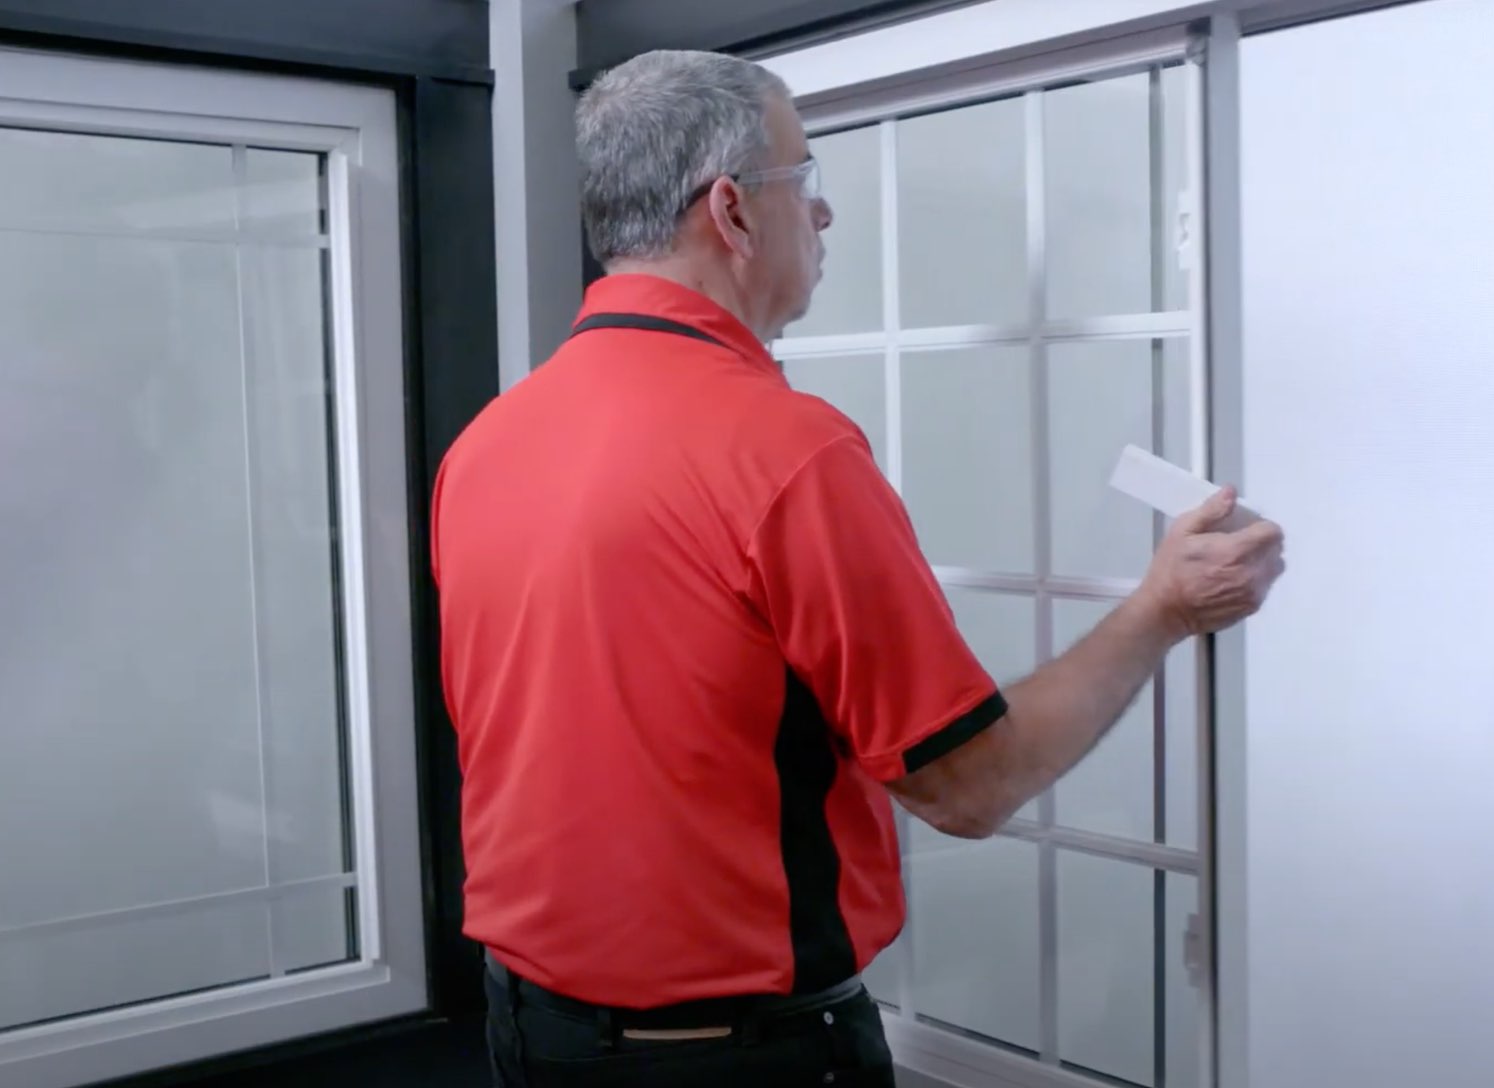
Step 3
To re-install the screen, reinsert the spring side of the screen into the side channel and compress to insert into the opposite side channel.
Note: Do not lean against screens, they do not act as safety barriers.
Slider Sash Replacement
Our Champion expert walks you through the steps of replacing both sashes in your sliding window.

Removing and Re-Installing Slider Window Sash

Step 1
Lift sash into upper track until bottom of the sash clears the lower track.

Step 2
Pull lower end of the sash toward you to remove and gently place it in a stable position.

Step 3
To re-install the sash, position top of window in upper track and then swing bottom of window into the proper track.
Cleaning Window Glass and Vinyl

Window Glass
Use a lint-free cloth along with Champion Glass Cleaner (or other quality window cleaning product). Avoid using abrasive cleaners or sharp objects on windows.

Window Vinyl
Occasionally cleaning the surface of your window vinyl will retain its beauty for the life of your windows. Use a cream wax cleaner or polish and avoid using any abrasive cleaners or materials. For stubborn spots, a non-abrasive cleaner is best.